What is 3D Puff Embroidery?
3D puff embroidery is a technique used in embroidery where the design is raised and has a three-dimensional appearance. This effect is created by using foam under the stitches, which is cut to the shape of the design and placed between the fabric and the embroidery thread. The foam raises the stitches above the fabric, creating a “puffy” or raised effect that makes the design stand out.
3D puff embroidery is commonly used in creating designs for hats, jackets, and other types of apparel. The effect can be particularly striking when used to create logos or designs with text. It can also be combined with other embroidery techniques, such as flat embroidery, to create a more complex and layered design.
Flat Embroidery vs. Puff Embroidery
Flat embroidery and puff embroidery are two different techniques used in embroidery, each with its unique features and benefits.
Flat embroidery is a technique where the embroidery design is stitched directly onto the fabric without any additional materials. The design lies flat against the fabric, creating a smooth and uniform appearance. Flat embroidery is often used for creating designs with fine details or intricate patterns, such as monograms, logos, and decorative motifs.
On the other hand, puff embroidery is a technique where a layer of foam is inserted under the design, making it raised and giving it a three-dimensional appearance. The foam is cut to the shape of the design and placed between the fabric and the embroidery thread. The foam raises the stitches above the fabric, creating a “puffy” or raised effect that makes the design stand out. Puff embroidery is often used to create designs that have a bold and textured appearance, such as sports logos, mascots, and other designs that need to stand out.
In summary, flat embroidery is suitable for designs that require a smooth and uniform appearance, while puff embroidery is more suitable for designs that need to stand out and have a three-dimensional effect. The choice between the two techniques depends on the design, the fabric, and the intended purpose of the embroidery.
What Designs Can You Make With Puff Embroidery?
When selecting a design for 3D puff embroidery, there are several factors to consider to ensure that the final product looks great and meets your expectations.
Bold and Simple Design
As with puff embroidery, 3D puff embroidery works best with bold, simple designs that have large areas of solid color or bold text that will stand out with the raised effect. Consider designs that have clear outlines and not too many small details.
Text Size
If your design includes text, it is essential to make sure that the text is large enough to be legible when embroidered in a 3D puff. The larger the text, the more pronounced the 3D effect will be.
Color
Consider the color of the design and the foam you will be using. The foam is typically white or black, so it is best to choose colors that will contrast well with the foam color to create a clear and defined design.
Size
Consider the size of the design and the area of the item where the design will be embroidered. If the design is too small, it may be difficult to create a noticeable 3D effect. If the design is too large, it may not fit within the embroidery area or look overwhelming on the item.
Fabric
The fabric you will be embroidering on also plays a role in the design selection. Some fabrics, such as knits, may not hold the 3D puff effect as well as others. It is best to test the fabric with a small swatch of the design to ensure that the effect looks as expected.
Digitizing
The design needs to be specifically digitized for 3D puff embroidery. These are digitized differently than regular embroidery designs. If digitizing is not your area, you can use a service that can help you get your 3D puff embroidery digitizing done.
Overall, it is important to keep the design bold and simple to create the best 3D puff effect possible. Consider the size, color, and fabric of the item, as well as the size and legibility of the design when making your selection.
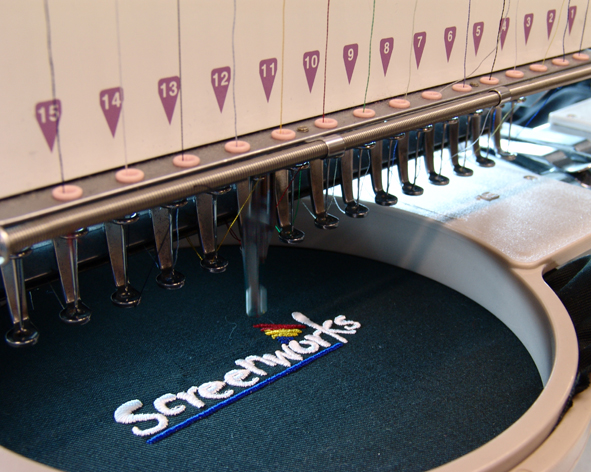
How to Embroider 3D Puff Foam: Steps & Overview
Creating puff embroidery involves a few specific steps to achieve the desired three-dimensional effect. Here are the general steps to create puff embroidery:
- Create the design: First, you need to create the design that you want to embroider. Keep in mind that the design needs to be simple and bold, with clear outlines, as intricate details may not work well with the puff embroidery technique.
- Choose the foam: Next, you need to choose the foam that you will use to create the raised effect. Polyurethane foam is the most common material used for this technique. The foam is available in different thicknesses, which will determine the height of the embroidery design.
- Hoop the fabric and foam: Once you have the design and foam, place the fabric in the embroidery hoop and cut a piece of foam that is slightly larger than the design. Then, place the foam on top of the fabric, centered under the area where the design will be embroidered.
- Embroider the design: Thread the needle with the embroidery thread and begin to stitch the design onto the foam. Use a running stitch, backstitch, or satin stitch to fill in the design. Be sure to stitch through the foam and the fabric to secure the foam in place.
- Trim the excess foam: Once you have completed the embroidery, remove the fabric from the hoop and carefully trim away the excess foam from the back of the design. Be careful not to cut the stitches or the fabric.
By following these steps, you can create a beautiful and unique embroidery design using the puff embroidery technique. Keep in mind that practice makes perfect, so don’t be afraid to experiment with different foam thicknesses, embroidery threads, and design styles to find the perfect combination for your project.
What Foam Do You Need?
When it comes to 3D puff embroidery, selecting the right foam is crucial for achieving the desired effect. The foam used in 3D puff embroidery is typically a high-density polyethylene (HDPE) foam that is specifically designed for embroidery. Here are some factors to consider when choosing foam for 3D puff embroidery:
- Thickness: The thickness of the foam will determine the height of the 3D effect. Thicker foam will create a more prominent effect, while thinner foam will create a more subtle effect. The thickness of the foam is typically measured in millimeters, and common thicknesses include 1.5mm, 2mm, and 3mm.
- Color: The color of the foam is important, as it will show through the embroidery and affect the overall appearance of the design. White and black are the most commonly used foam colors, as they contrast well with most embroidery thread colors.
- Quality: High-quality foam is essential for achieving a clean, well-defined 3D effect. Look for foam that is dense and has a smooth, even surface.
- Adhesive Backing: Some foam comes with an adhesive backing that makes it easier to attach the foam to the fabric before embroidering. This can be especially helpful when working with small or intricate designs.
- Brand: There are several brands of 3D puff embroidery foam available on the market, and each may have different qualities and characteristics. It is a good idea to test different brands to find the one that works best for your embroidery projects.
Overall, the right foam for 3D puff embroidery will depend on the desired height of the 3D effect, the color of the embroidery thread, and personal preference. It is important to experiment with different foam thicknesses and brands to find the one that works best for your specific embroidery needs.
Where Can You Use Puff Embroidery?
Puff embroidery can be used in a wide variety of applications and is a popular technique for adding texture and dimension to garments, accessories, and other items. Here are some examples of where puff embroidery can be used:
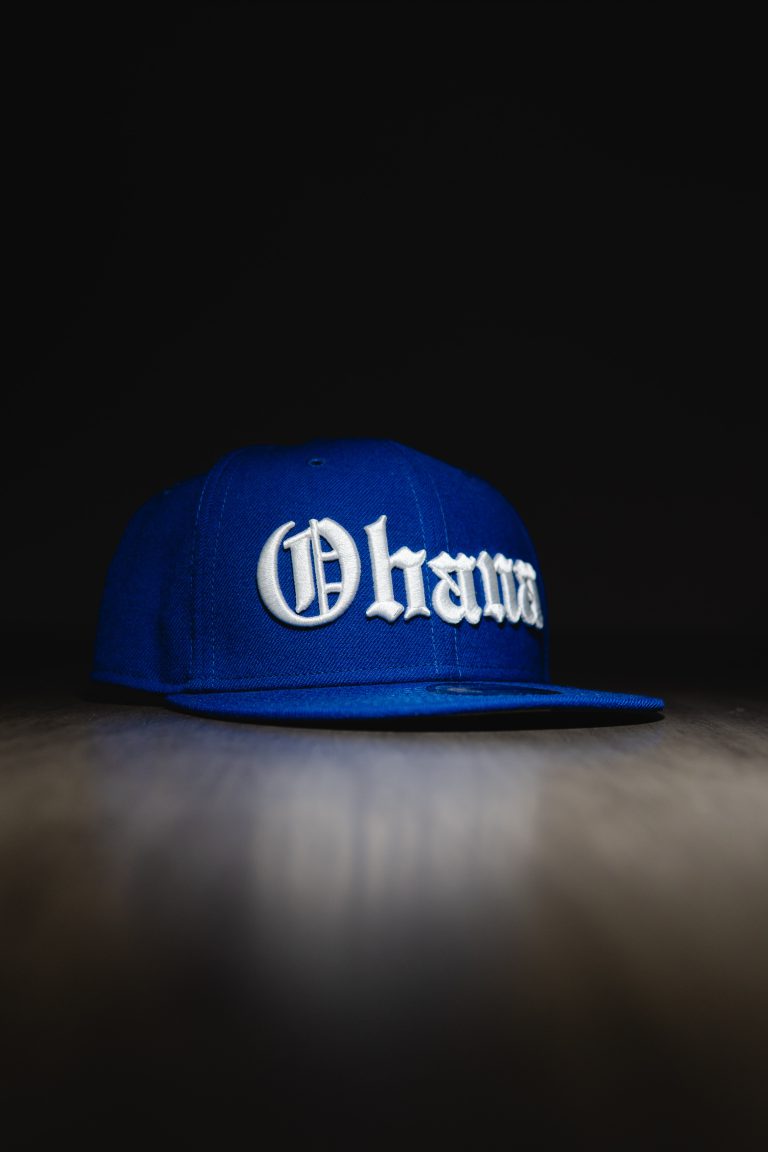
Caps and Hats
Puff embroidery is commonly used on caps and hats, particularly on the front panels where logos or designs can be embroidered with a raised 3D effect.
Jackets and Sweatshirts
Puff embroidery can also be used on jackets and sweatshirts to create unique designs that stand out.
Bags and Totes
Puff embroidery can add a unique touch to bags and totes, particularly on the front panels or pockets where designs can be embroidered with a raised 3D effect.
Towels and Blankets
Puff embroidery can be used to add a unique touch to towels and blankets, particularly on the corners or edges where designs can be embroidered with a raised 3D effect.
Patches and Badges
Puff embroidery is a popular technique for creating patches and badges that can be attached to clothing, bags, and other items.
Shoes and Sneakers
Puff embroidery can even be used on shoes and sneakers, particularly on the sides or tongues where designs can be embroidered with a raised 3D effect.
Overall, puff embroidery can be used on almost any item that can be embroidered, and is a popular technique for adding dimension and texture to a wide range of products.
What Stabilizer Should I Use for 3D Embroidery?
Selecting the right stabilizer is an important part of achieving successful 3D embroidery. Here are some tips for choosing the right stabilizer for your project:
- Heavyweight Cutaway Stabilizer: To support the weight and thickness of the foam, it is recommended to use a heavyweight cutaway stabilizer. This type of stabilizer is sturdy enough to support the embroidery and prevent puckering or distortion.
- Fusible Stabilizer: A fusible stabilizer can be used in addition to a cutaway stabilizer to help hold the foam in place during embroidery. The fusible stabilizer is placed on the back of the fabric, and the foam is placed on top. The two layers are then ironed together before embroidering.
- Tear-Away Stabilizer: Tear-away stabilizer can be used to add extra support and stability to the fabric during embroidery. This type of stabilizer is placed underneath the fabric and can be easily removed by tearing it away after the embroidery is complete.
- Avoid Water-Soluble Stabilizers: Water-soluble stabilizers are not recommended for 3D puff embroidery, as they are not strong enough to support the weight of the foam and may dissolve during embroidery.
Overall, the combination of a heavyweight cutaway stabilizer and a fusible stabilizer can provide the necessary support and stability for 3D puff embroidery. It is important to test different stabilizers and combinations to find the one that works best for your specific project.